
Signage
Rest Easy signs identify a specific journey and location through their existing secure links. A prepared sign may be valid but unassigned. Assignment to a customer location is a separate authorised action; payment does not prove that a physical sign has been installed.
Audience: All customer roles
Last reviewed: 2026-11-01
Rest Easy signs identify a specific journey and location through their existing secure links. A prepared sign may be valid but unassigned. Assignment to a customer location is a separate authorised action; payment does not prove that a physical sign has been installed.
- Check that the sign is the intended staff NFC or public feedback sign.
- Use an authorised manager account to follow the first-scan assignment flow where the sign is unassigned.
- Select the correct business unit and Control Point, confirm the action and check the resulting destination.
- Fit the sign in a visible, accessible position close to the relevant restroom. Keep QR markings flat, clean and unobstructed, with clear surrounding space.
- Test a real phone scan from the customer's viewing position and a compatible staff NFC tap.
- Confirm both destinations identify the intended room before opening the area for use.
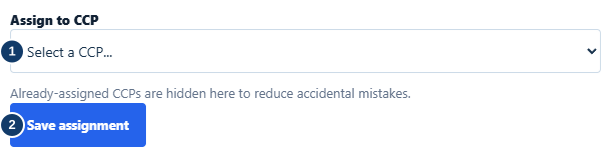
- Select the intended available restroom.
- Confirm assignment, then test both sign journeys.
Metal surfaces, phone cases, device antenna positions, glare and damaged printing can affect scanning. Follow the supplied sign and mounting guidance; check the supplied instructions for positioning and mounting. Request a replacement through Rest Easy when a sign is damaged. Do not regenerate the printed code or reuse another site's sign without authorised reassignment.