
Business administrator quick start
Rest Easy · Fictional training screenshots · Revised 1 November 2026
1. Activate and plan
- Complete your genuine invitation and password setup.
- Sign in to the application and check the business identity.
- List your sites, rooms and the managers who need each location.
- Check your agreed plan and active Control Point capacity. Do not submit another order if provisioning is still pending.
Success: the correct business dashboard opens.
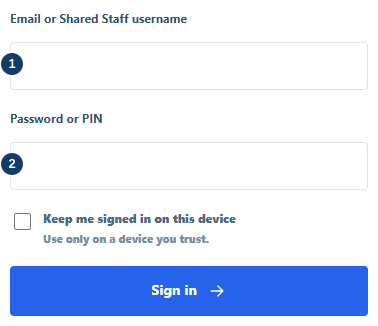
- Enter your own username or email.
- Enter your password, then sign in.
2. Configure the first site
- Open Business units.
- Enter a clear site name and address. Check the inherited business classification.
- Save, then confirm the site in the existing-units list.
- Open its edit action. Under Operating hours, check the local timezone and opening pattern, choose the effective date and save.
Example: Riverside Hotel is a unit; Ground-floor Gents is a room within it.
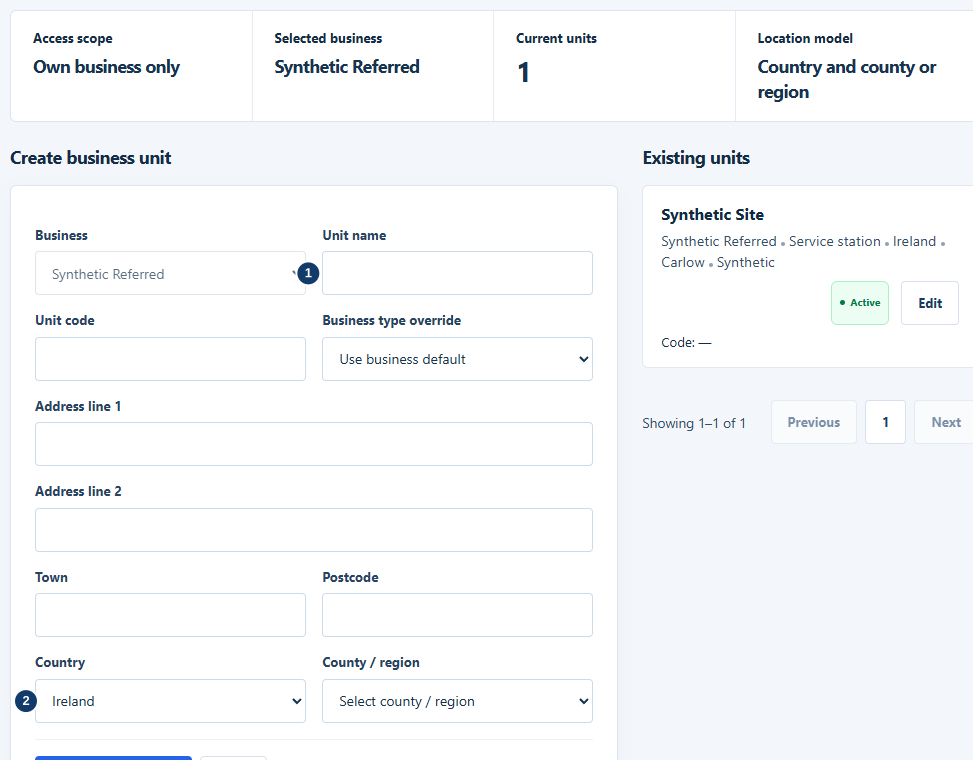
- Use the site name your team recognises.
- Confirm the location details.
3. Add rooms and expected checks
- Open Control points and create a restroom in the correct site.
- Select Restroom and a name staff and customers recognise.
- Configure expected checks for the actual operating hours.
- Check overnight hours, timezone and genuine closure exclusions.
- Save and review the room. Unconfigured is not compliant.
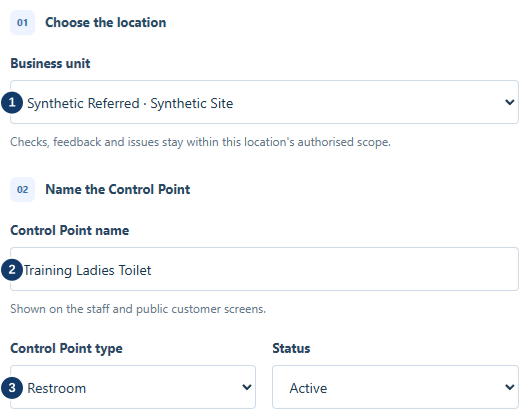
- Choose the correct business unit.
- Use a clear restroom name.
- Choose the enabled Restroom type.
4. Prepare the team and signs
- Open Users; invite named managers and staff with only their required roles.
- Check unit assignments; ask each person to test access.
- Scan each unassigned sign using an authorised manager account.
- Assign it to the intended room, install it and test both staff/customer routes.
- Agree who responds when a phone, sign or alert fails. Never share the administrator password.
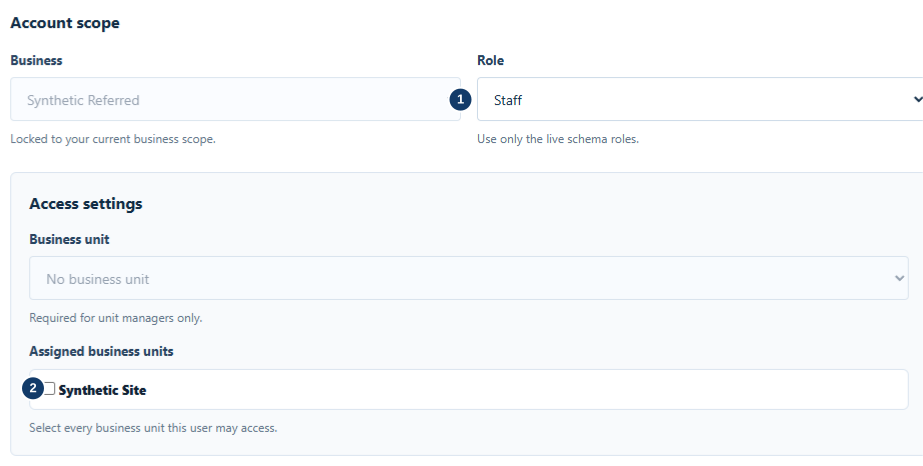
- Select the appropriate role.
- Assign only the required business units.
5. Prove the routine works
- Carry out a real inspection and confirm Check recorded.
- Find it in room history and the management view.
- Where customer-issue reporting is enabled, make a labelled training feedback submission and find the resulting issue.
- Acknowledge, correct and resolve it; do not leave a test hazard open.
- Review renewal dates and notification recipients.
Review the first week for unconfigured rooms, genuine misses and unresolved issues. Contact hello@resteasy.ie for account/billing help.
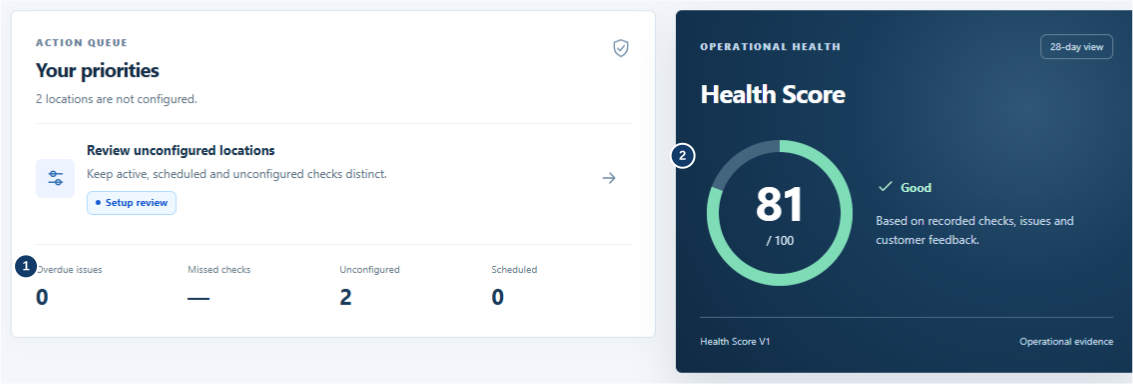
- Read misses, overdue issues and unconfigured rooms separately.
- Read the Health Score with its available evidence.
Full procedures: Customer handbook.